
Contents
1. Overview
2. Requirements
2.1 Create use cases
2.2 Create requirements
2.3 Maintain provider information (optional)
3. Solutions
3.1 Provider contact (optional)
4. Shortlist
5. Meetings
6. Decisions
1. Overview 
Create a new initiative using the “New initiative” button.
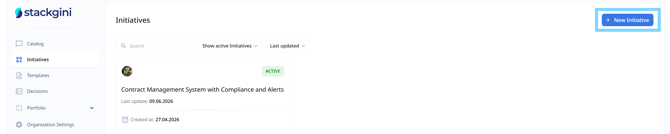
Start a new initiative with the intake assistant. Describe your software need in the chat, or upload a requirements document, and the assistant drafts the initiative for you. The Initiative Draft on the right fills in automatically as you chat.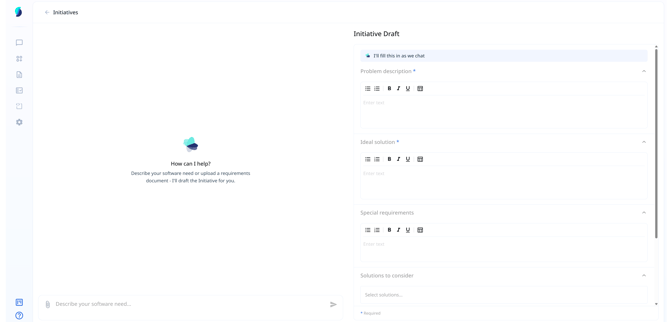
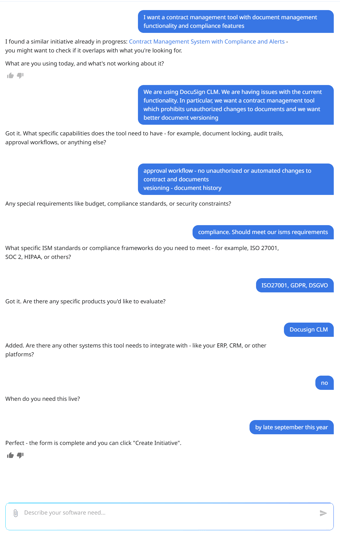
Describe your need in your own words. The assistant asks targeted follow-up questions; what you use today and what is not working, the capabilities you need, any compliance or security constraints, specific products to evaluate, required integrations, and your target timeline. If a similar initiative already exists, it points you to it.
As you chat, the assistant fills in the Initiative Draft: Problem description, Ideal solution, Special requirements, Solutions to consider, Required integrations, and Target deadline. You can edit any field manually at any time.
Tip: You can also paste entire paragraphs from emails or other sources, or upload files directly, such as exports from submission forms. The assistant will structure the content.
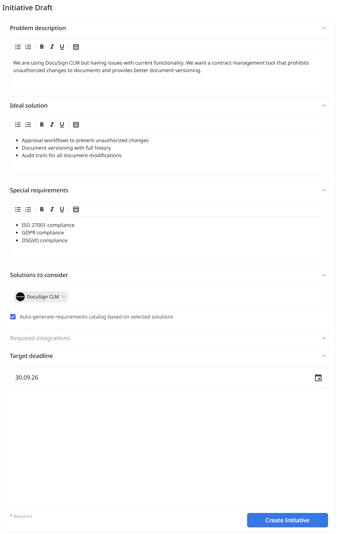
Under "Solutions to consider", add any solutions already in the running. Tick "Auto-generate requirements catalog based on selected solutions" to have a requirements catalog generated from them.
Set a target deadline (go-live date). This defines the end point of your initiative timeline and can be adjusted later.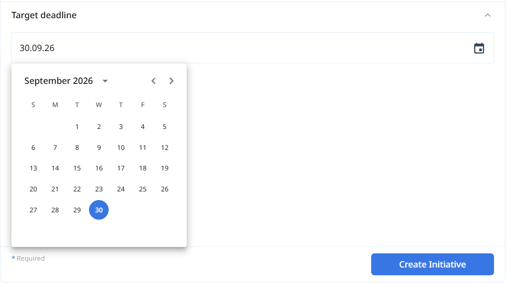
When the draft is complete, click "Create Initiative".
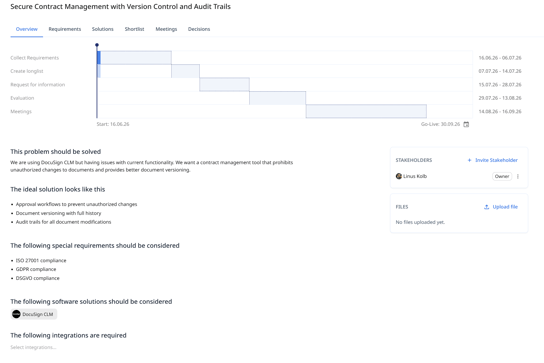
The initiative has been created. You can schedule the timeline using the date fields for each work package. Use “Invite stakeholder” to add more people to collaborate on this initiative. Documents can also be uploaded to the central storage.
2. Requirements
In the "Requirements" area, start by creating use cases - an overarching cluster for the requirements you create in the second step. Clicking "Add" shows five ways to create use cases and requirements.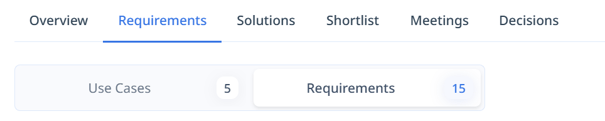
2.1 Create use cases
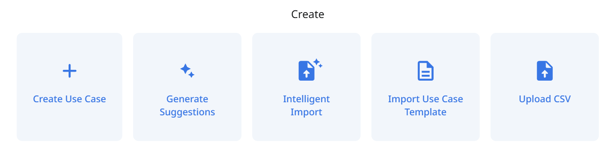
Clicking “+ Create” shows the five different ways to create use cases and requirements.

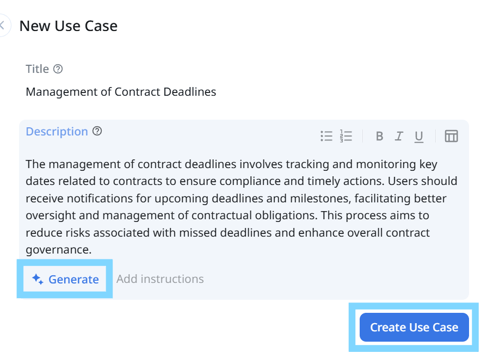
2.1.1 Add a use case
Use "Add use case" to define a title manually and have the Stackgini AI generate the description.
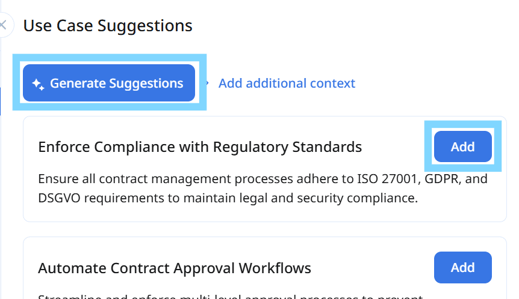
2.1.2 Generate suggestions
The Stackgini AI produces a list of potential use cases to choose from, based on your initial inputs and any requirements already defined.
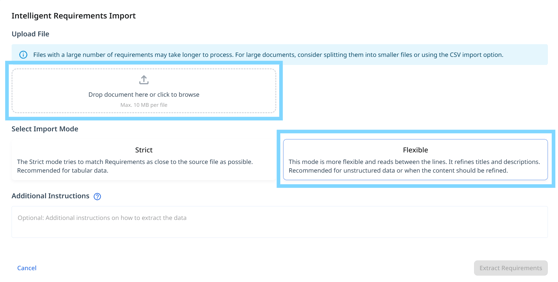
2.1.3 Intelligent import
The “Intelligent import” lets you upload documents in a wide range of formats (e.g. product brochures, process diagrams, user manuals, etc.).
Tip: Choose “Flexible” during the upload for unstructured data.
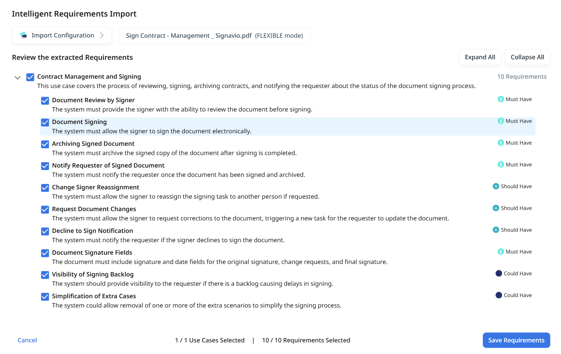
After the document has been analyzed, you can select the suggested use cases and requirements. These remain editable after the import.
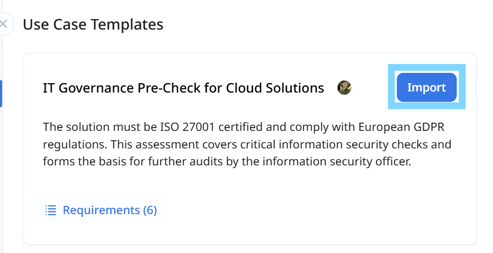
2.1.4 Import from templates
Access centrally maintained templates with standard requirements (e.g. IT compliance checks or provider checks). Contact your Stackgini administrator for details.
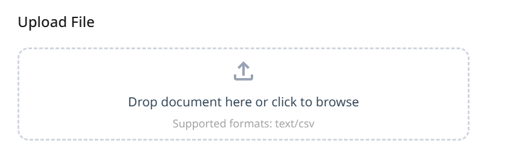
2.1.5 Upload CSV
Import requirements via CSV files. The function area provides a sample file and further details.
Tip: For tabular data an upload via "Intelligent import" is recommended.
2.2 Create requirements
Requirements describe specific content within a use case. Requirements add detail to the use case.
There are different types of requirements (functional, non-functional, integration, architecture, commercial) that should be considered in the requirements catalog.
Requirements can be created via the same five paths as in step 2.1.
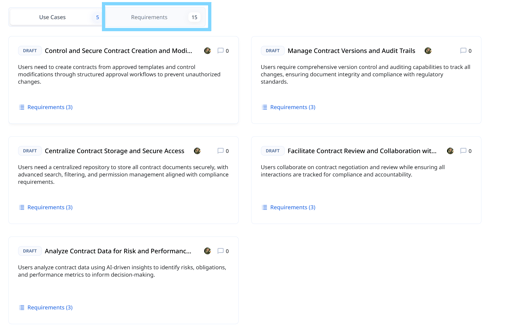
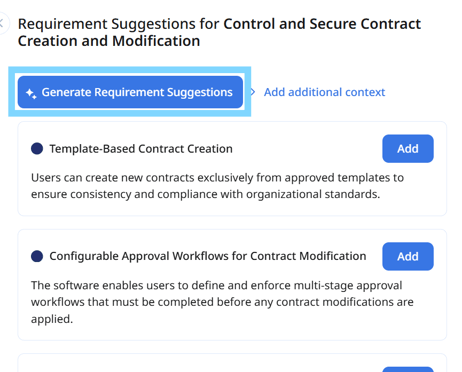
For existing use cases, you can have the Stackgini AI generate requirements. Click “Generate requirements” and select the relevant requirements.
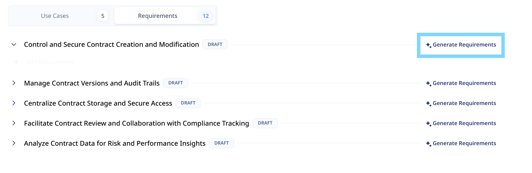
Click "Add" to add the newly generated requirements to the use case.
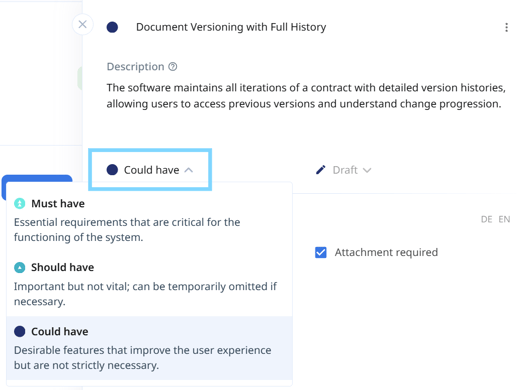
Requirements should be prioritized accordingly as “Must”, “Should” and “Could”. Keep an appropriate balance between the priorities.
“Must” requirements should be used selectively for especially critical requirements – if they are not met, that should be a knock-out criterion.
2.3 Maintain provider information (optional)
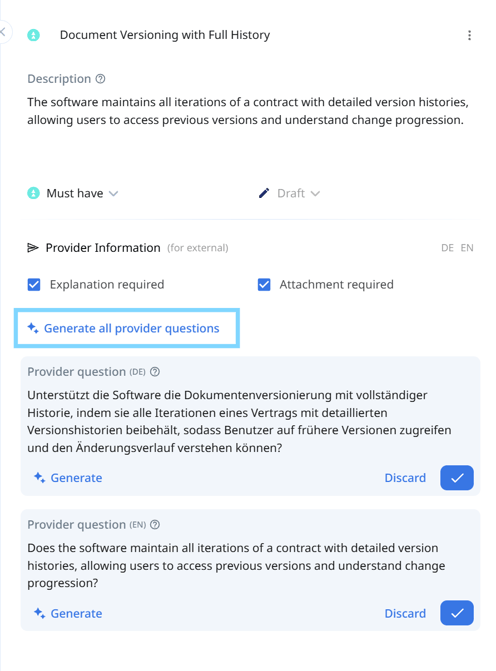
If you plan to contact vendors as part of market research or an RfX process, the vendor questions must be completed. You can generate the vendor questions from existing requirements, individually or at use-case level via "Generate all missing vendor information".
Depending on your settings, the vendor-contact option may not be available in your tenant, in that case contact your administrator or Stackgini representative.
At requirement level:
At use case level: 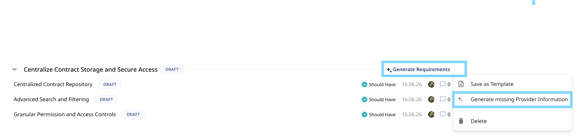
The vendor questions must also be switched from “Draft” to “Released” so they are cleared for sending to vendors. You can do this at use-case level for the requirements it contains.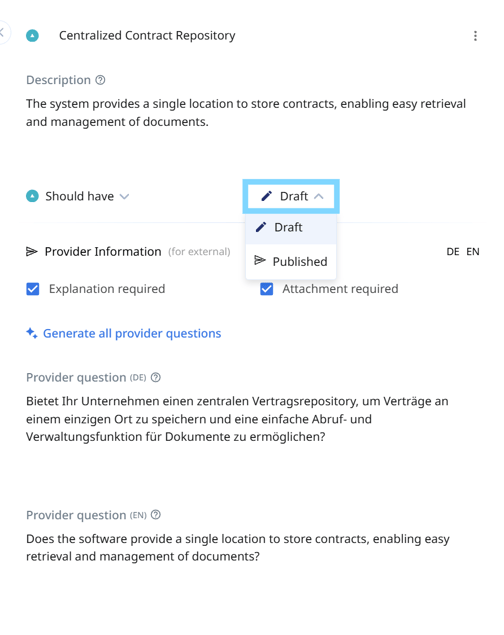
At the use case level, confirm by clickling "Yes"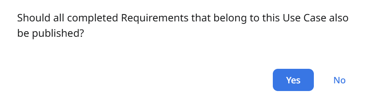
3. Solutions
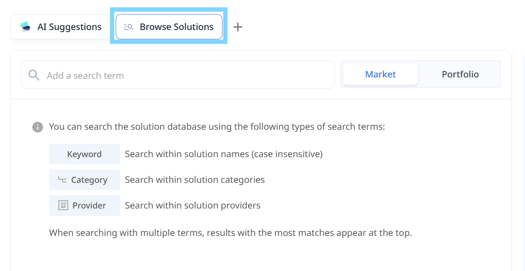
To select potential solutions, you can search your internal portfolio and/or start a market analysis. The AI checks against your defined requirements and suggests relevant solutions accordingly.
Each action can take up to 60 minutes, and you will be notified by email once a result is available.
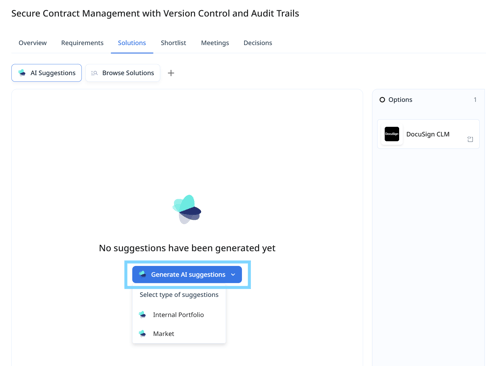
From the AI suggestions, select the solutions relevant for the next steps.
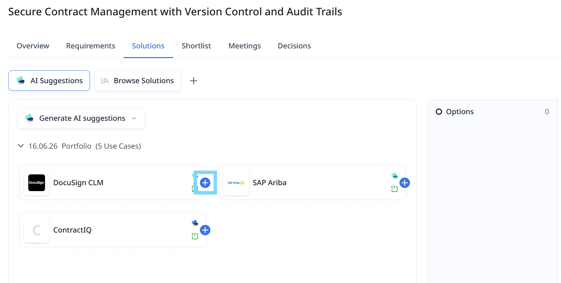
You can also add solutions manually if they were not returned by the AI suggestions or if you want to run an evaluation without AI suggestions. Use the “Search solutions” button or “+”.
3.1 Provider contact (optional)
You can contact providers to assess how well they meet your requirements. You can do this in addition to the Stackgini AI assessment and the internal assessment.
This requires the activities from step 2.3 to be completed first.
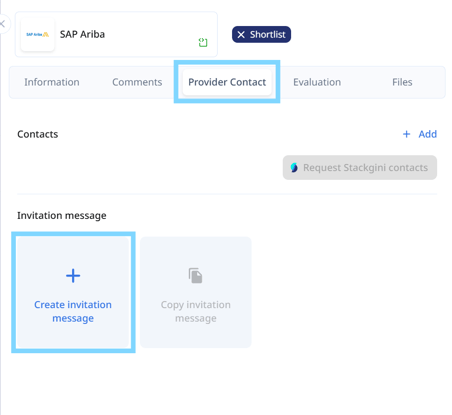
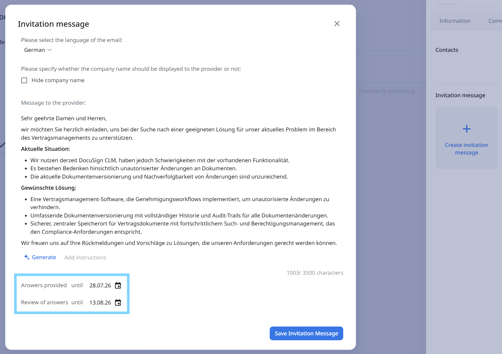
Generate the letter and edit it manually. In addition, you must set a deadline for the provider to answer the questions and a feedback deadline for your company toward the provider.
If you already have an existing contact for the provider, click “Add” to enter the contact details and then click “Contact”. The stored contact is then contacted directly for this provider with the invitation letter and your provider questions.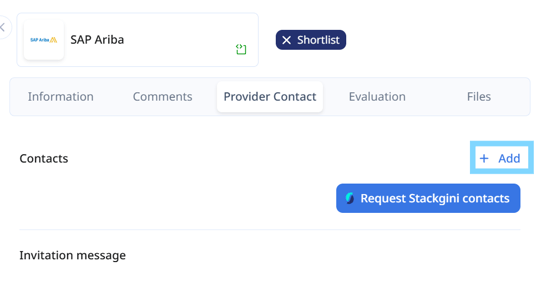
Alternatively, you can use the Stackgini provider contact via “Request Stackgini contacts”. The Stackgini platform sends the request with the invitation letter and provider questions to a suitable provider contact.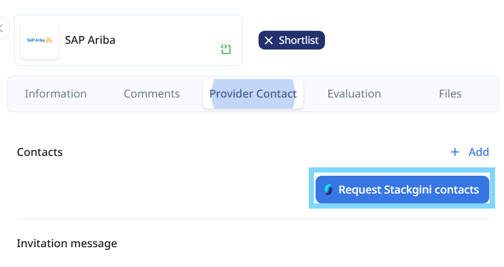
4. Shortlist
The shortlist lets you select the relevant solutions for the evaluation.
Click “Add tools to shortlist” and add the solutions you want to evaluate to the shortlist.
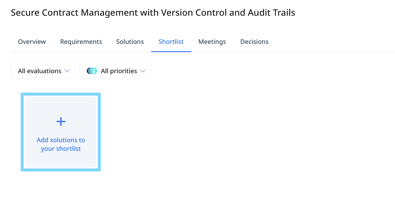
Available options come from your selection in step 3.
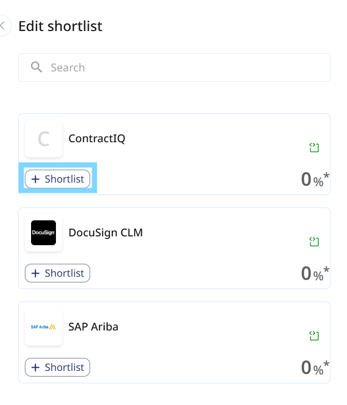
After selecting the relevant solutions, you can start the AI evaluation.
The AI assessment checks the solutions' capabilities against your requirements catalog and the "Must, Should, Could" priorities.

Click "Start evaluation" to confirm the estimated cost.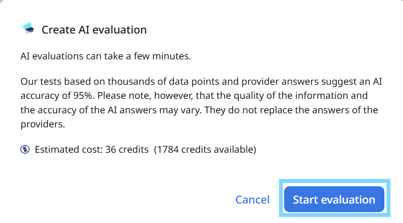
The AI assessment shows you whether the requested capabilities are “available”, “partially available”, “not available” or “unclear”. “Unclear” means the AI lacked information to make an assessment.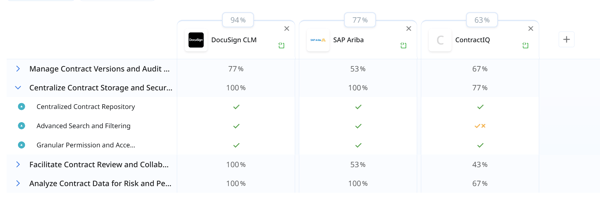
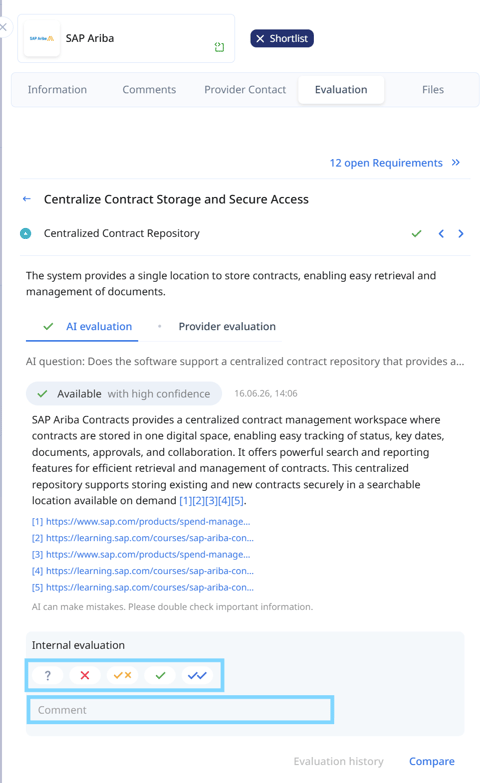
When you click an individual rating, you get a justification and the underlying source(s).
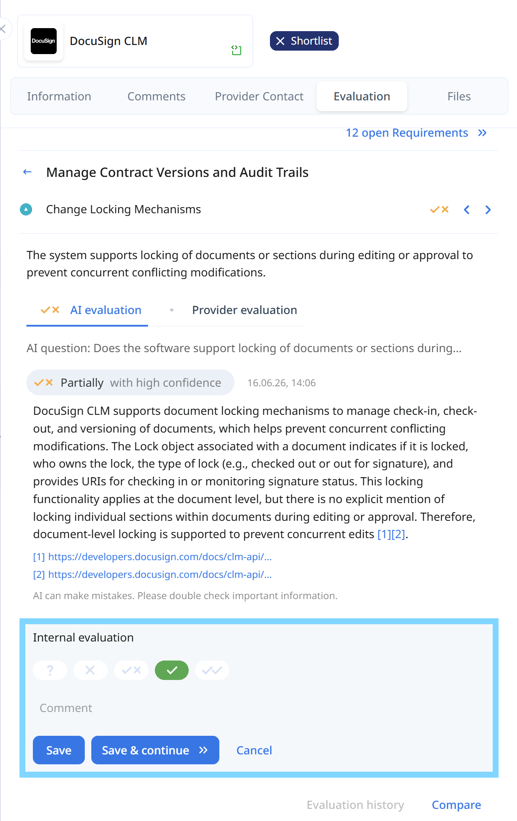
Tip: You can also “override” the AI assessment with an internal assessment and add comments.
5. Meetings
In the “Meetings” area, you can document internal meetings or meetings with providers. To do so, create a new meeting.

Then select which solutions will be discussed during the meeting.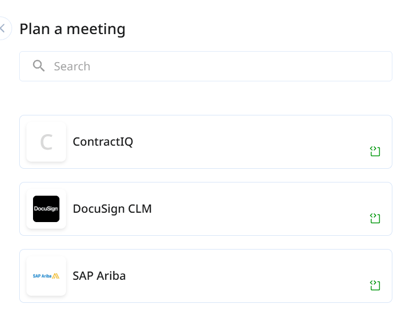
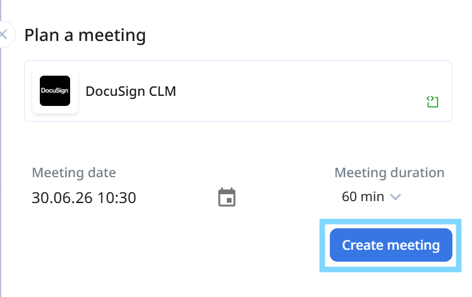
Set the date and length of the meeting.
Creating it does not generate an appointment in your calendar or with a provider.
During the meeting, you can then override and comment on the AI / provider assessment with your internal assessment.
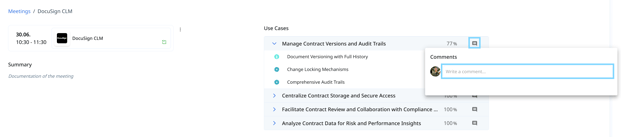
During the meeting, you can then override and comment on the AI / provider assessment with your internal assessment.
6. Decisions
Decisions" is a new feature and is therefore not yet covered in this guide. To learn how to capture and document decisions, see our existing knowledge base articles on Decisions:
1. How To Use Decisions